 Skip to content


Solid fertilizers
How to fertilize potted plants
Fertilizing potted plants is different from plants located in the ground.
In this article you will discover how growing plants in pots is different compared to those grown in the ground, and the options available to fertilize them properly, easily and economically.

Plants that are in pots rather than in the ground, which is less natural. Differences exist? Which are? What implications does the use of pots have? Is fertilization different compared to plants growing in soil?
Limitations of pots
A pot is a closed container of limited size, usually small, that confines the roots and prevents them from spreading into a larger area, as occurs with plants that grow in the ground.
In this first paragraph are several key ideas for this section.
Small size
Regardless of the size of the pot, it will always be a fraction of the vast soil that covers most of the planet. In addition, pots are usually sized appropriately for the plant they contain, as larger pots are more expensive and difficult to handle.
This limited pot volume It requires that the substrate in which the plant is located be concentrated and balanced in nutrients , and that these nutrients be replenished each time the plant depletes them (since the roots cannot extend beyond the pot).
Lockdown
Have you ever looked at the roots of a plant that has been growing in a pot for a while? For sure yes. Those tangled roots, twisting and turning around the container, are desperately seeking to expand into new territories.
This behavior of the roots is due to a reason: the nutrients (and/or water) in the potting substrate are no longer sufficient to supply the plant, or the available space is unbalanced in relation to the size of the plant. It must be taken into account that most plants maintain a balance between their aerial part and their roots. A cup with a diameter of 30 cm would correspond to a similar "root ball", although not as much due to the limitation of the pot.
We have seen the main limitations of pots in relation to plant nutrition, so now we will address the different options available for fertilizing them.
Options for fertilizing a pot
Fertilizing involves providing nutrients, and this can be done in various ways. Next, I will present some descriptive concepts that will facilitate the understanding of what I want to explain.
Replacement fertilization

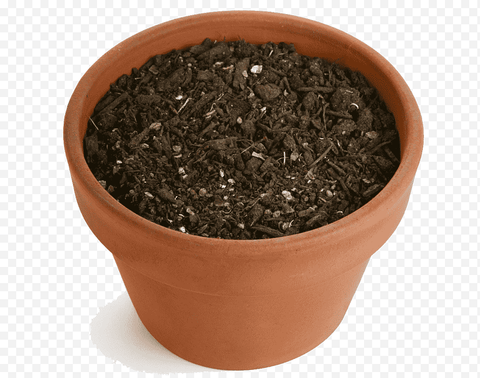
When the substrate in a pot runs out of nutrients, it is common to replace it with another, taking the opportunity to transplant the plant to a larger pot, since otherwise the new substrate could not be added without damaging the roots.
In this case, a pot with exhausted substrate is replaced with another containing a new, nutrient-rich substrate. Additionally, since it is a larger pot, the roots can grow a little more and leave the initial confinement.
For the transplant you can use our Hortyjardín ® Potting Soil that comes ready to use
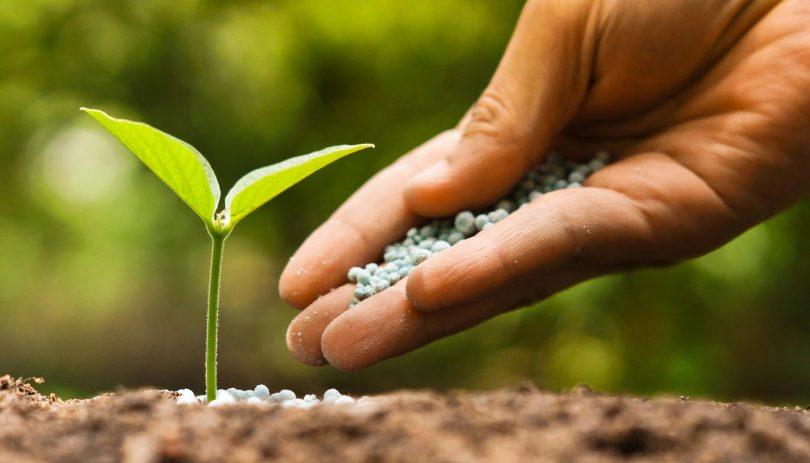
Additional fertilization
In this case, we are referring to the common practice of adding fertilizer to the potting substrate, either because it is enough or because you do not want to transplant it to another pot to replace the substrate.
Fertilizers that can be applied directly to the substrate of a pot can be solid or liquid.
- Solid fertilizers


